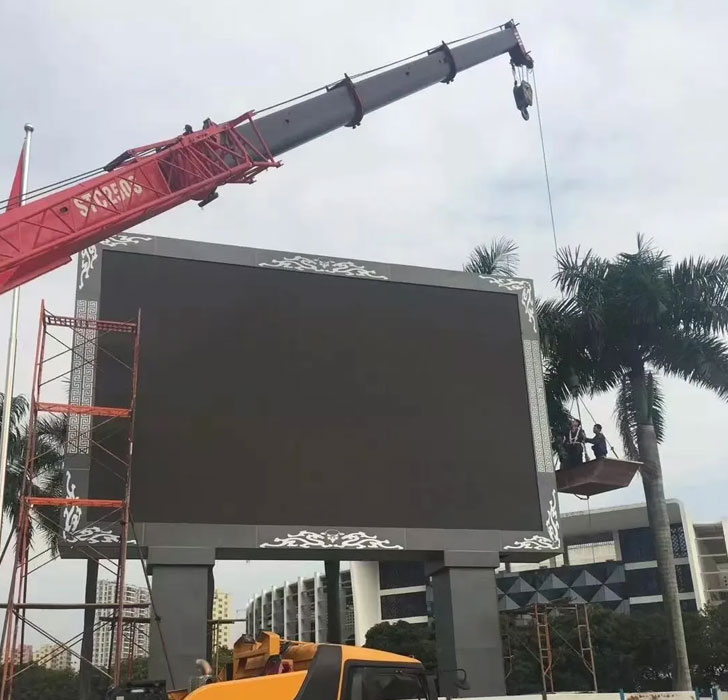
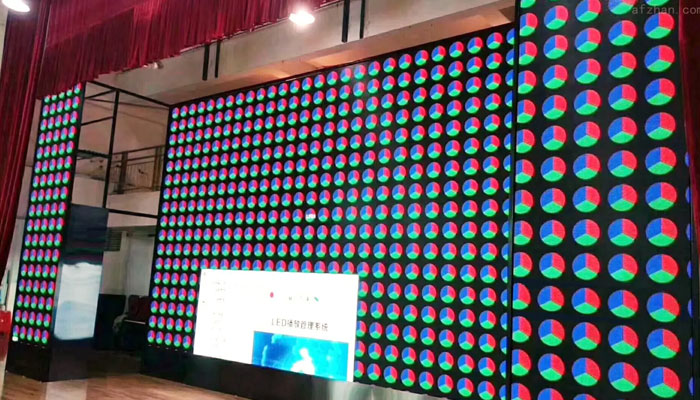
We all know that all electronic devices have a certain life span, and LED displays are no exception. As time goes by, LED display screens will inevitably encounter some failures or problems during long-term use. What should we do at this time? What should I do if the outdoor LED display module is broken? Today we will give you a detailed introduction to this problem.
Solutions to failures of outdoor LED display modules
One. Large area black screen phenomenon of LED display
Solution:
1. Check whether the power is on
2. Check if the cable is in good contact
Two. Dead pixels (out of control points) appear on the LED display
1. Frontal maintenance: Use a screwdriver of the corresponding model to remove the screws of the fixed mask from the front (note the well-intentioned screws), remove the mask, and change the lamp (please change the lamp according to the following lamp replacement method), and the lamp replacement and gel seal are over After that, restore the original mask and tighten the screws (be careful not to press the lamp when you install the screws).
2. Back maintenance: Use a screwdriver of the corresponding model to remove the screws from the back (note the good intentions to protect the screws), unplug the signal cable, do not unplug the power cable, to prevent accidents, carefully remove the module from the sheet metal hole Take it out and move it to the back of the box, and then perform maintenance and replacement of a single module according to the front maintenance method (please follow the method of replacing the lamp below) or overhaul others.

Third, the phenomenon of dead light on the LED display, the playback image is incomplete and unclear
1. Use a multimeter to check whether the LED display is damaged. If the lamp is broken, replace it.
Specific lamp test method: set the multimeter to resistance X1, connect the black test lead of the analog multimeter to the positive electrode of the LED, and connect the red test lead to the negative electrode (the black pen of the digital meter is connected to the negative, and the red pen is connected to the positive). If the LED is on, the measured light is Yes, if the light is not on, the measured light is broken.

Four. The LED display module does not light up, and a black screen appears on the module
1. Check if there is a problem with the power supply
2. Check whether the transmission cable is in bad contact
If the color of the whole module is chaotic or inconsistent (but there is signal input, there is a correct picture), re-plug the cable, or replace the tested cable.
3. Check if there is a problem with the interface of the PCB board
Five, change the light
Use a sharp tool (such as tweezers) to remove the colloid around the damaged LED display, and make the LED pins clearly visible in the line of sight. Use the tweezers to clamp the LED display with your right hand, and use a soldering iron with your left hand (the temperature is about 40 degrees). High temperature will cause damage to the LED display) Touch the solder and stay for a while (not more than 3 seconds, if the time exceeds the time but does not meet the disassembly requirements, please cool down and try again) Melt the solder and use tweezers to display the LED The screen is removed.
Insert the LED display lamp that meets the requirements into the hole of the PCB circuit board. (The long leg of the LED lamp is the positive pole, and the short leg is the negative pole. The “square hole” on the PCB is the LED positive pin socket, and the “round hole” is The negative pin socket of the LED), melt a little solder wire, glue it on the tip of the soldering iron, use tweezers to adjust the direction of the LED display to make it stable, solder the solder to the connection between the LED and the PCB, and use the same type of colloid (PH Value=7) Seal the LED display.


